
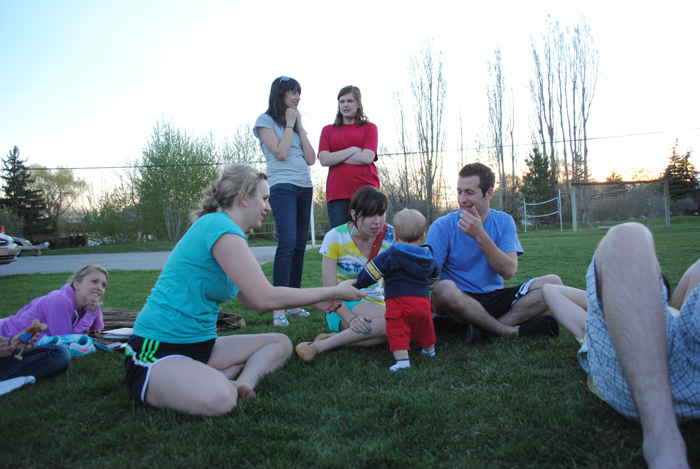
Group Activity: Date: May 20, 2011 Time: 7:30pm
Camera: Nikon D3000 F/ 5.6 , 1/60
Group Enviromental: Date: May 20, 2011 Time: 7:25pm
Camera: Nikon D3000 F/ 3.5 , 1/250

Group Posed: Date: May 20, 2011 Time: 7:20pm
Camera: Nikon D3000 F/ 5.6 , 1/200

Individual Full body: Date: May 18, 2011 Time: 3:00pm
Camera: Nikon D3000 F/ 5.6 , 1/125

Individual Head & Shoulders: Date: May 18, 2011 Time: 2:50pm
Camera: Nikon D3000 F/ 5.3 , 1/30

Side composition: Date: May 20, 2011 Time: 7:15pm
Camera: Nikon D3000 F/ 5.6 , 1/100
ENHANCEMENTS

Edit air brush, eyes, teeth: Date: May 18, 2011 Time: 3:15pm
Camera: Nikon D3000 F/ 5.6 , 1/125

ORIGNAL

MATCH COLOR

Color sample


Color replacement
Portraits: This weeks assignment has been really fun, one of my favorites so far. When i got the assignment i had no idea what i was going to do. i kind of forgot about the assignment for a few days and just happened to bring out my camera one day when we were playing volleyball with some of my friends and their families. The light was great that day, i took a lot of the shots close to sun set, so i got great filtered light on my group posed, group activity, side composition and group environmental.
On my other individual shots i got my wonderful friend anne, to come and pose for me as i took pictures. I chose to go to down town Rexburg because of the brick alley ways and other great back ground textures. I found a partly shaded alleyway, that gave great side light and made for some really interesting lighting opportunities.
On my edit photos i just did some simple edits to make the pictures better. On the first photo i air brushed her face a little, mostly on her chin, to get ride of some of the redness that was there. Then i used the spot healing tool to get ride of some of the blemishes on her face. i then , using the magnetic lasso tool, selected her eyes, copied the layer, put a high pass filter and then added soft light to make her eyes stand out more. i then copied that layer twice to enhance the affect.
For the color replacement i just went into adjustment then to color replacement and selected the back ground wall, and changed the hue to more of a orange color then increased the saturation. Then i decreased the opacity of the layer to make it more natural looking.
No comments:
Post a Comment